
There’s been no mountain or trail adventures since the Franconia Ridge Loop. That was almost two weeks ago. The weather is still not cooperating, as each day has featured high temps and humidity, rain, or in most cases, both.
The last time I watered the garden was on June 13th. Two months ago!
Yet there still are daily challenges and adventures. On Sunday I was once again confronted by an old nemesis- an electric hot water heater. The battle was epic, and the outcome in doubt until almost sundown.
Some background: Years ago I owned and managed a few residential buildings. Given that all apartments need to have separate utilities, typically each unit would have their own hot water heater. It did not take long for me to learn to hate these machines. Inevitably they broke down at night or weekends, and once I had one freeze and burst the water pipes both in and out of the unit. If I recall correctly, the tenant turned off the heat and disappeared. In February. In Maine.
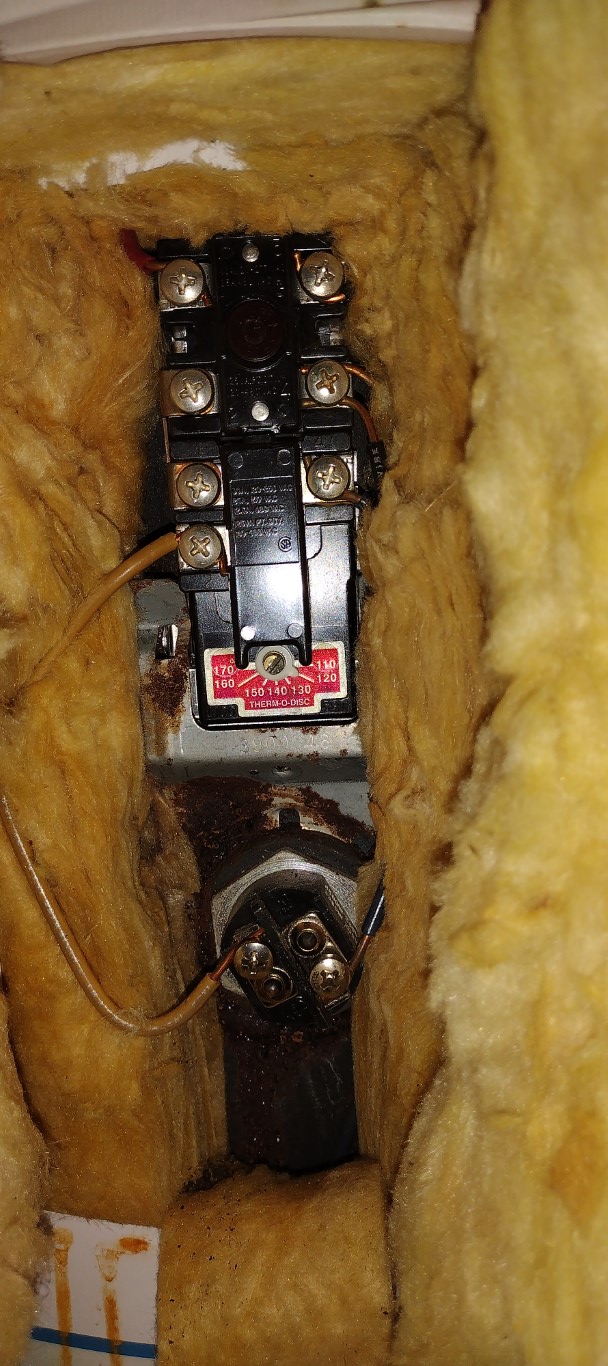
So last Saturday morning we noticed that the hot water wasn’t very hot. I went down into the cellar and took a look at the unit, and found that the high-temp sensor had tripped. This is not a good sign, indicating that there was a problem with the thermostats or heating elements, or both. As Wife and I had plans for the day, I hit the reset button and hoped it was a random fault, knowing full well that it wasn’t. If it was still acting up the following day I’d dig in and see what could be done.

When Sunday came around the heater still wasn’t working as it should. I reached back in the memory banks, reviewing my previous experiences fixing these beasts. Also watched a couple of Youtube videos to both refresh the memory and see if anything new was there to be learned. There wasn’t. Tank-style electric hot water heaters reached the pinnacle of design and function many years ago, so my knowledge was still valid, just not recent.
In reality these are simple machines. There’s a tank that brings in cold water where it’s heated, and then distributed through the hot water supply lines for the house. There are two heating elements, an upper and a lower, both governed by thermostats. Both elements are never on at the same time; either the upper is on while the lower is off, or vice versa. Both elements are off when the tank is at the set temp. And to make it yet simpler, most of these appliances all use the same heating elements and thermostats.

The first step in diagnosing the malfunction is to test the thermostats and elements. For this you need a multimeter. This tool is also handy to ensure you don’t enjoy a 240V / 30A jolt.
As I got to work, the memories came flooding back. You always want the problem to be one or both of the thermostats, because you don’t have to drain the tank to service them. Easily replaced. But they are never the problem. It’s always the elements, and in my experience, usually the bottom heating element so you get to drain the entire tank.

Sure enough, after checking voltages and resistance, it was very clear that the lower element was the problem. Zero resistance on the ohmmeter, when it should have been about 14. Off to the hardware store 20 miles away to get a couple heating elements. If you have to replace one, you might as well do both of them.
Once I returned to the cellar, the next step was draining the tank after ensuring there was no current reaching the heater. There’s a valve at the bottom of these appliances that a garden hose is attached to, and in a perfect world you’d run that hose to a drain, or just outside somewhere. Unfortunately, my house was built in 1895, and the only drain in the cellar was higher than the water heater. Bucket brigade time to transport the water from the tank out of the house.
But only if I could drain the tank at all. After closing the water supply valve and attaching a hose to the drain valve and staging a couple of 5-gallon buckets nearby, I opened the drain valve. Nothing came out. I was afraid this would happen.
I checked the manufacturer data on the heater. This unit was manufactured in 1992. I was now combating 31 years of sediment build-up inside the tank. Fantastic!
Not being my first rodeo, I had Wife open up the hot water faucets upstairs to prevent an air lock scenario, and cycled the water supply valve on and off, trying to use hydraulics to force a path through the sediment to the drain.
Surprisingly, it worked! In the past I’ve had to replace heaters due to sediment build-up. But this time I was rewarded with a decent flow. I filled up a bucket, and switched the hose into the other bucket when I went to dump the first. I did this 8 or 9 times, until the flow stopped coming out of the hose. Next task at this stage was the removal of the heating elements.
Hardware stores like to sell the DIY homeowner a purpose-built socket for removing heater elements. I had one, and after a short search found it in my old plumbing tool box. The idea is to insert a large screwdriver through the holes provided to unscrew the element. On a new, or relatively new heater, this tool usually works fine.
But not today. While I’m fairly sure these elements weren’t original, they’d been in there for a long time and were seized up hard- could not budge them. I deployed the artillery, fetching my ½” drive ratchet and 1 ½” socket, along with a breaker bar. Still no joy! The 12-point socket failed to get enough purchase on the thin hex nut incorporated into the heater element.
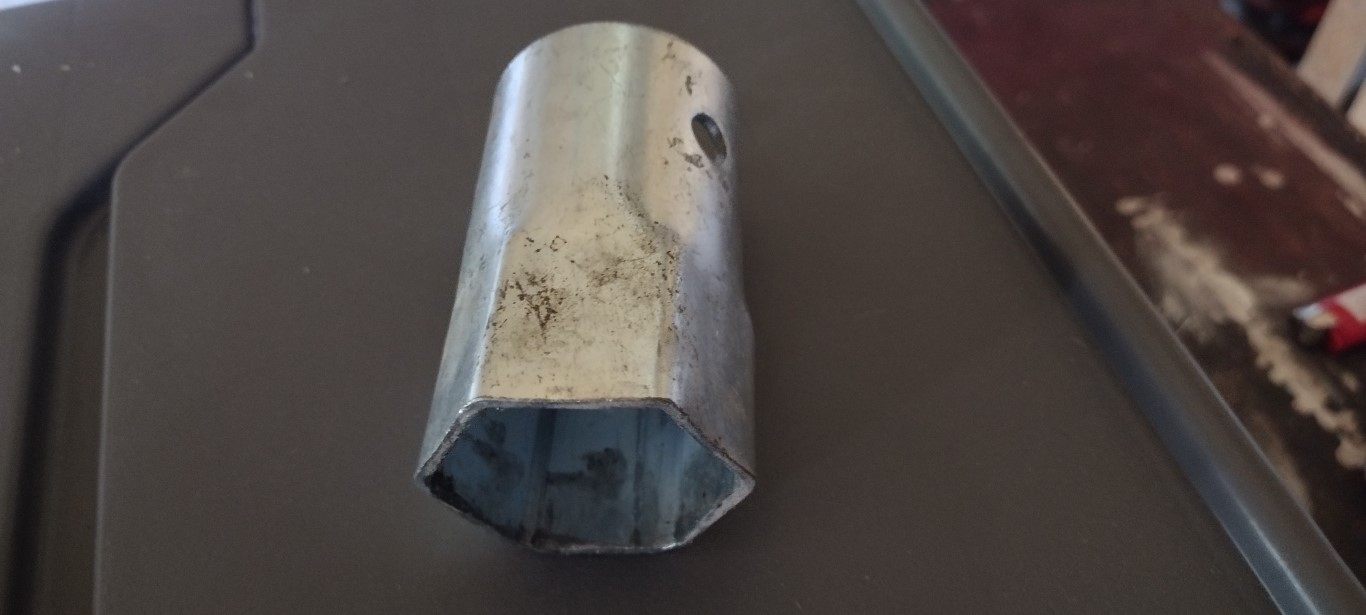
I turned to Youtube for guidance. This gentleman showed me what I needed- a 6-point socket. (Seriously- watch this guy for a few minutes. Start at the 20 second mark. He’s hilarious)
So it was off to the hardware store for a second trip, this time to procure the 6-point socket. It was almost 5PM at this stage of the game. Fortunately the hardware store was open until 7PM. My luck was holding- they had the socket! I paid the $18 (!!) and returned home.
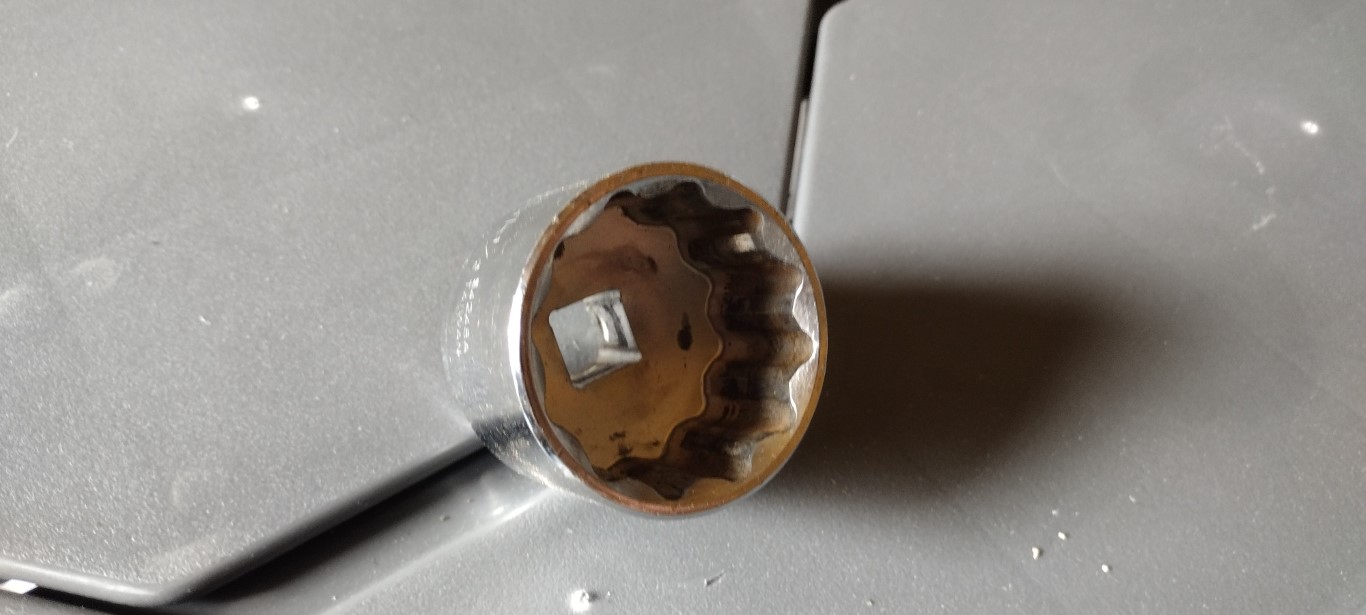

Once back in the cellar, I applied proven principles of leverage combined with colorful coaxing and begging language to the frozen heating elements. I worked up a wee bit of sweat during this process, but did free up the elements and manage to remove them. Here is the weapon that won the day:

The old elements were pretty much as I expected. The upper looked fine, and probably would have continued on happily for many more years. On the other hand, the lower element had become encased in sediment I think, resulting in the shorted out areas easily seen in the photo. It twisted in the sediment as it came out of the tank.


One last challenge had to be overcome before installing the new elements and placing the unit back in service. When the lower element was removed, a slurry of water and sediment began oozing out of the tank. I had to get enough sediment out of the tank so the element would only be in contact with water. I used an iron bar to rake the sediment out of the hole until nothing leaked out on its own. Then, holding a bucket to catch the outflow, I cycled the water supply, flushing sediment and water out of the element housing hole. This resulted in another six buckets up the stairs and out of the house.
Eventually the sediment level was well below the hole, and I installed the new elements, reconnected the wires and powered the unit up. In about an hour we had hot water throughout the house again, and life resumed goodness.
So after seven hours, much sweat, some cursing, 85 miles of driving and an expenditure of $48.15, the old man triumphed over the old appliance. I’m confident that after my repairs and servicing this old heater will last another 10 or 15 years, unless the bottom of the tank falls out. Also happy not to have parted with $600 or so to replace the thing.
And I’m really happy that I can still fix stuff!
Thanks for stopping by! More coming soon.

I’ve had more than a few tussles with a hot water heater. Fortunately, these days, I don’t have to worry about that. I just call the landlord.